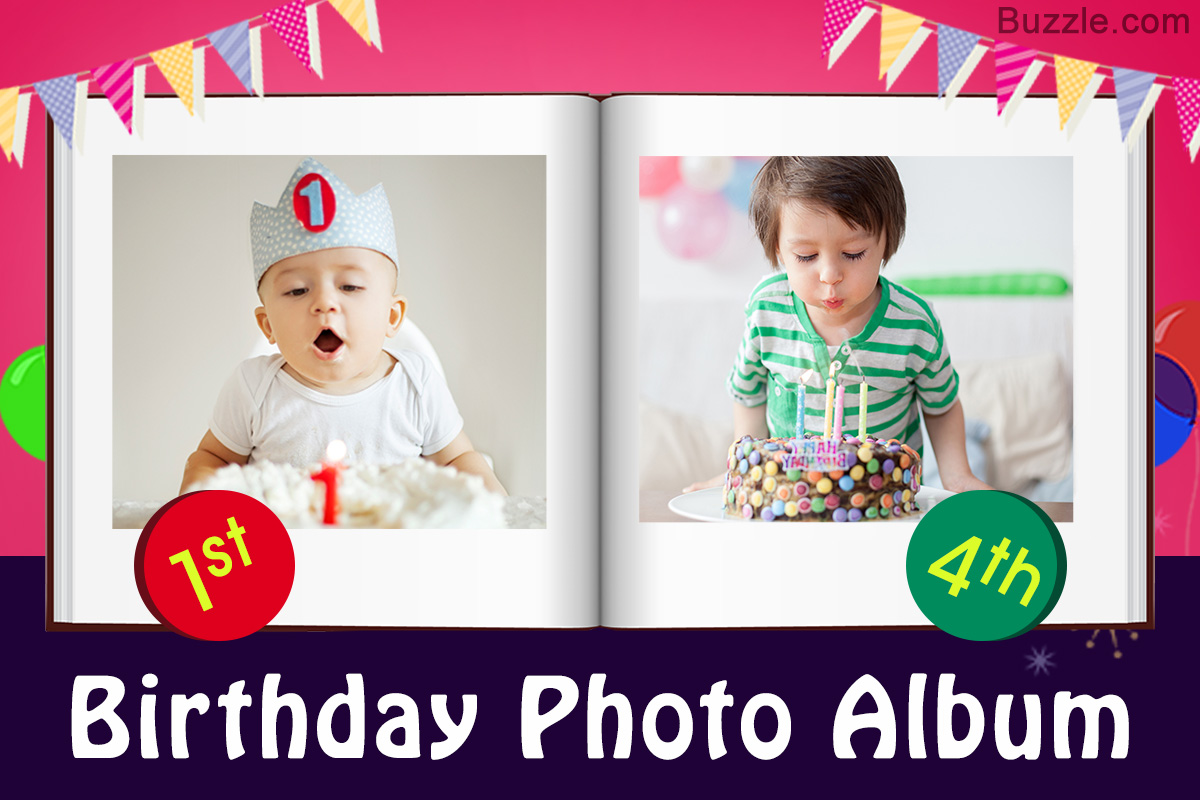
A photo book is nothing but a photo album that lets you present and preserve your favorite photos in a layout of your choice. If you want to create a birthday photo book, then here are some ideas that you might like. Take a look…
Making a photo book for your loved one’s birthday is a great way to preserve the memories of a special day. Although birthdays come every year and we click many photographs, most of the photos just languish inside drawers. Worse, some are never even printed and are just stored in the computer.
Creating a customized photo book in a beautiful layout will help you to cherish the wonderful memories of a birthday party. What’s more, birthday photo books make great gifts for family and friends. Just think how wonderful it will be for a grandparent to receive a 1st birthday photo book of his grandchild. There are many websites that offer their services in creating a birthday photo book, once you supply them with the relevant photos. Although this is a very good idea, wouldn’t it be better if you could create your very own birthday photo books. And it is not a difficult task at all.
How to Make Birthday Photo Books
Here are some ideas on how to make a photo album for birthdays.
Birthday Photo Book Idea 1
Things required
- 1 sheet of 18×24 square inch watercolor paper
- Double-sided tape
- Stronghold fabric glue
- Pair of scissors
- Ruler
- Fancy decorative paper
- Utility knife
- Bone folder
- Grosgrain ribbon
- Photo corners
- Mat board
- Pencil
Procedure
To make this birthday photo album, you need to place the watercolor paper on the work table. With the help of a ruler and pencil, mark the points at a distance of every 7 inches on the longer side. Do this on both the top and the bottom sides of the paper. Again join the two top and the bottom points with a straight line. With the lines a guide, fold the paper accordion style. With the scissors, cut the remaining paper, leaving a ½ inch width of paper on the left side. Once this is done, turn the accordion style folded paper by 90 degrees and mark 5 inch distances on it. Cut the paper into three equal 5 inch sections.
Now stick a narrow section of double-sided tape on the ½ wide tab that you had cut off earlier. Join the other two 5 inch sections of folded paper to the tab. Next cut two pieces of mat board into the dimensions of the photo pages. Cut two pieces of fancy decorative paper in dimensions that are ½ inch more than the mat board pieces. Adhere the decorative paper on the mat board pieces with double-sided tape. Once this is done, trim off the excess decorative paper. Adhere double-sided tape on the back of the mat board pieces and stick them to the front and back of the photo book pages.
To secure the pages to the mat board, press it with the bone folder. Cut a piece of long grosgrain ribbon and stick one end of it to the inside back cover of the photo book with stronghold fabric glue. Finally attach the photo corners on the “pages” of the photo book. Once the photo corners are secure, you can mount the birthday photos on each page of the photo book. Decorate it with sequins, glitter and feel free to write about the wonderful memories attached with each photograph.
Birthday Photo Book Idea 2
Things required
- Mini photo album
- Cutting mat
- Card stock
- Pair of scissors
- Ruler
- Fancy decorative paper
- Craft knife
- Masking tape
- Glue stick
- Metallic acrylic paint
- Mat board
- Pencil
Procedure
To make this photo book, first cut the decorative paper in the same size as the mini photo album. Now arrange the birthday photos in the order in which you want to mount them on the photo book. Cut the card stocks in the same size and shape as that of the photos. Flip the photos over and mark the four corners of the photos into four small triangles (same shape as photo corners). Make the same markings on the card stock.
Place the card stock over the decorative paper and with the marked corners as guide, make four slits on the paper. These four slits are where the four corners of the photo will be inserted. Make more slits like this to accommodate each and every page of the album book. Apply glue on the back of the decorative paper and smooth it over the album page. Insert the card stock and the photos inside the slits of the decorative paper. Write down captions on the card stock for the photos.
Make a stencil on another card stock paper and place it on the top of the photo book cover. Secure the stencil in place with the masking tape and paint the stencil with metallic acrylic color. When the paint is dry, you can remove the masking tape and the stencil. Your stenciled birthday photo album is ready.
Birthday Photo Book Idea 3
Another great idea for making a birthday photo book is to use an old address book that you might have lying around the house. Take an old address book and check if all the pages are intact. An address book with a ring binder works the best for this project. Spray paint the pages of the address book with acrylic paint colors and choose a different color for each page. Once the spray paint has dried, assemble the birthday photos on the address book. To make the front cover of the photo book more interesting, attach a favorite birthday photograph on it with strong glue. Glue four pieces of satin ribbon on the perimeter of the photo to give it a finished look.
Birthday Photo Book Idea 4
Do you have a lot of old postcards that you have never used? Then why not turn it into a birthday photo book? For this simple DIY project, collect 15 – 20 old postcards and punch two holes on one end of each postcard with a hole punch. While punching the holes on the postcards, make sure that the holes on the postcards align together. Now insert two binder rings into the holes of the postcards, and attach your favorite birthday photos on the inside of the postcards. The colorful postcards will make an interesting background for the birthday photos.
These kinds of personalized birthday photo books make for a great keepsake. While assembling the photos for a birthday photo book, you can assemble them according to the different moments of the birthday party, like cutting of birthday cake and opening of presents. Choose photos that you love the most and best represents the spirit of the birthday.
